


My WordPress Blog
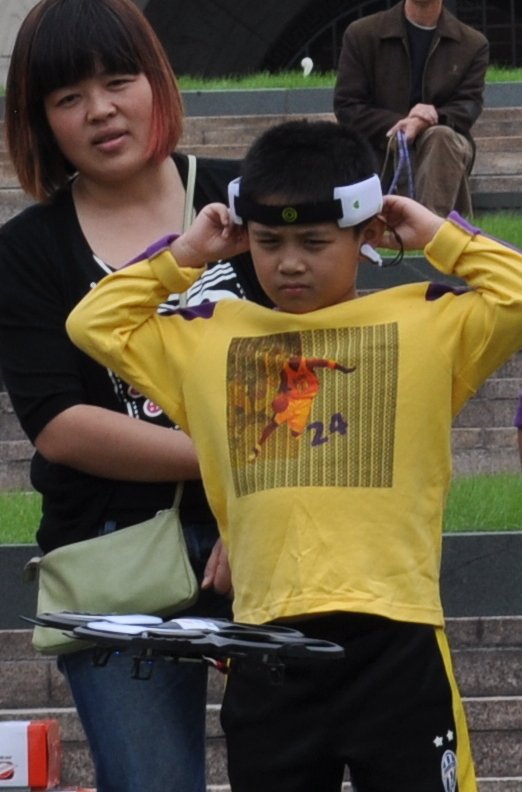
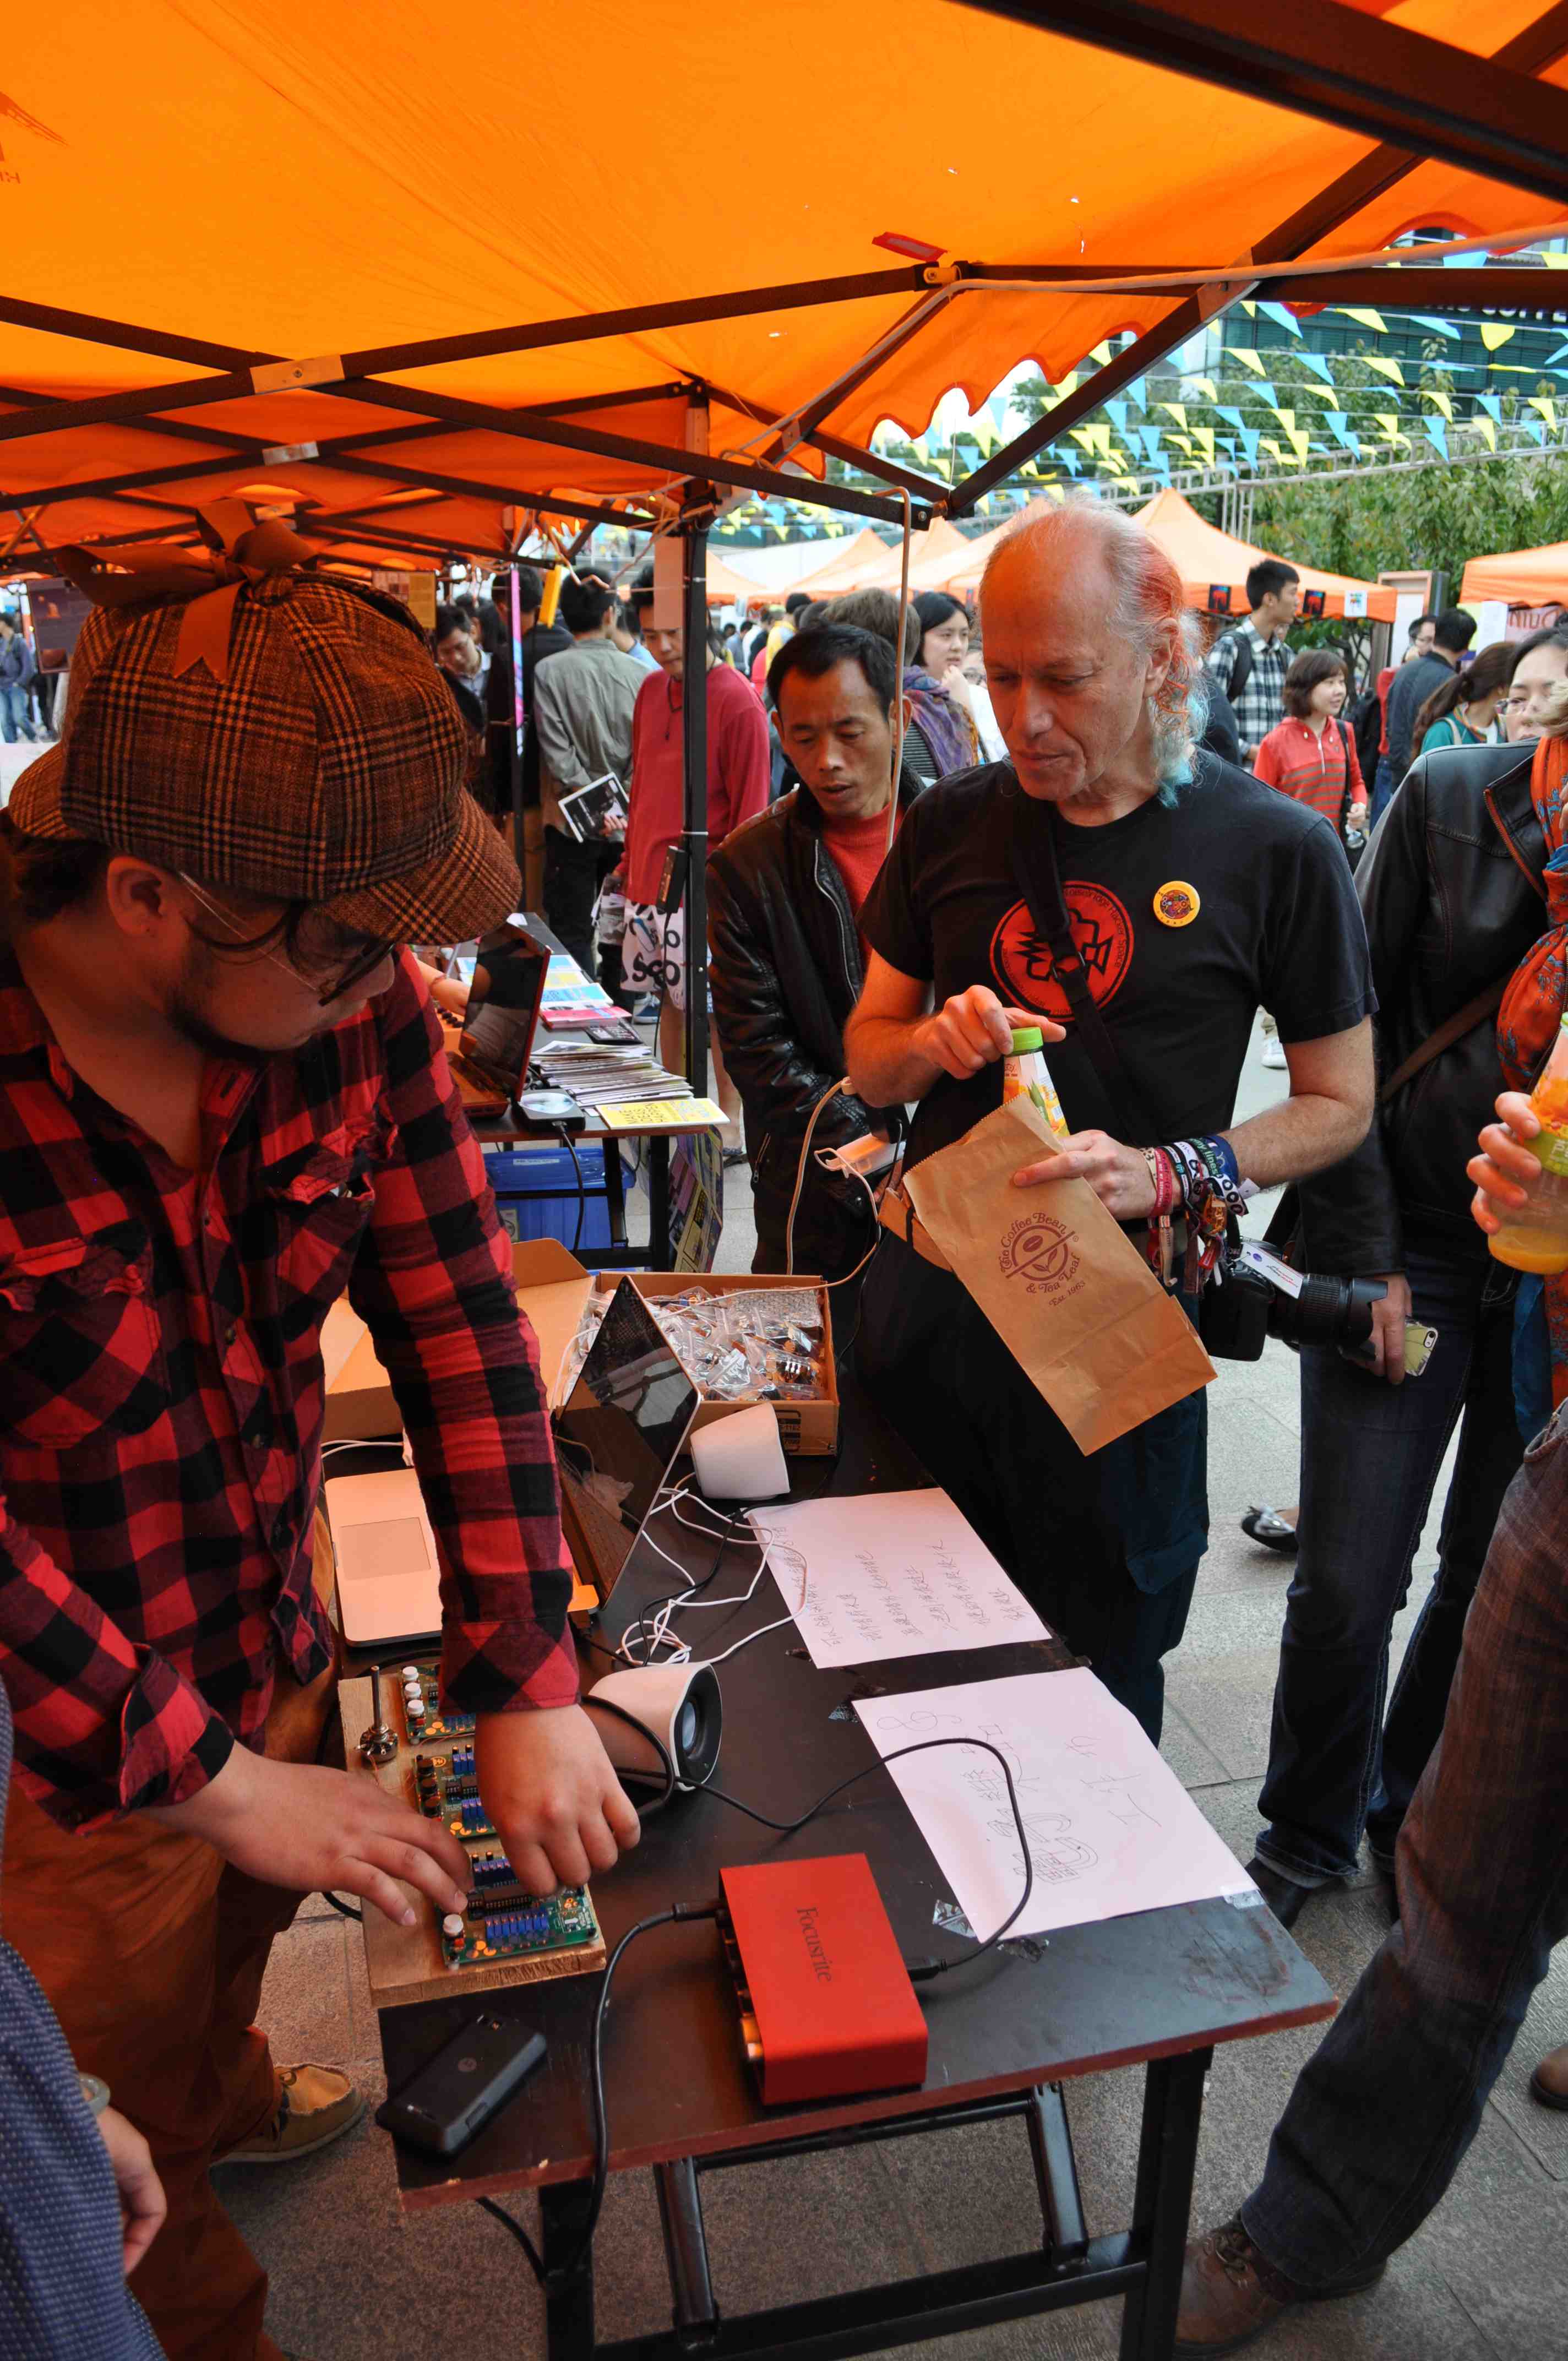
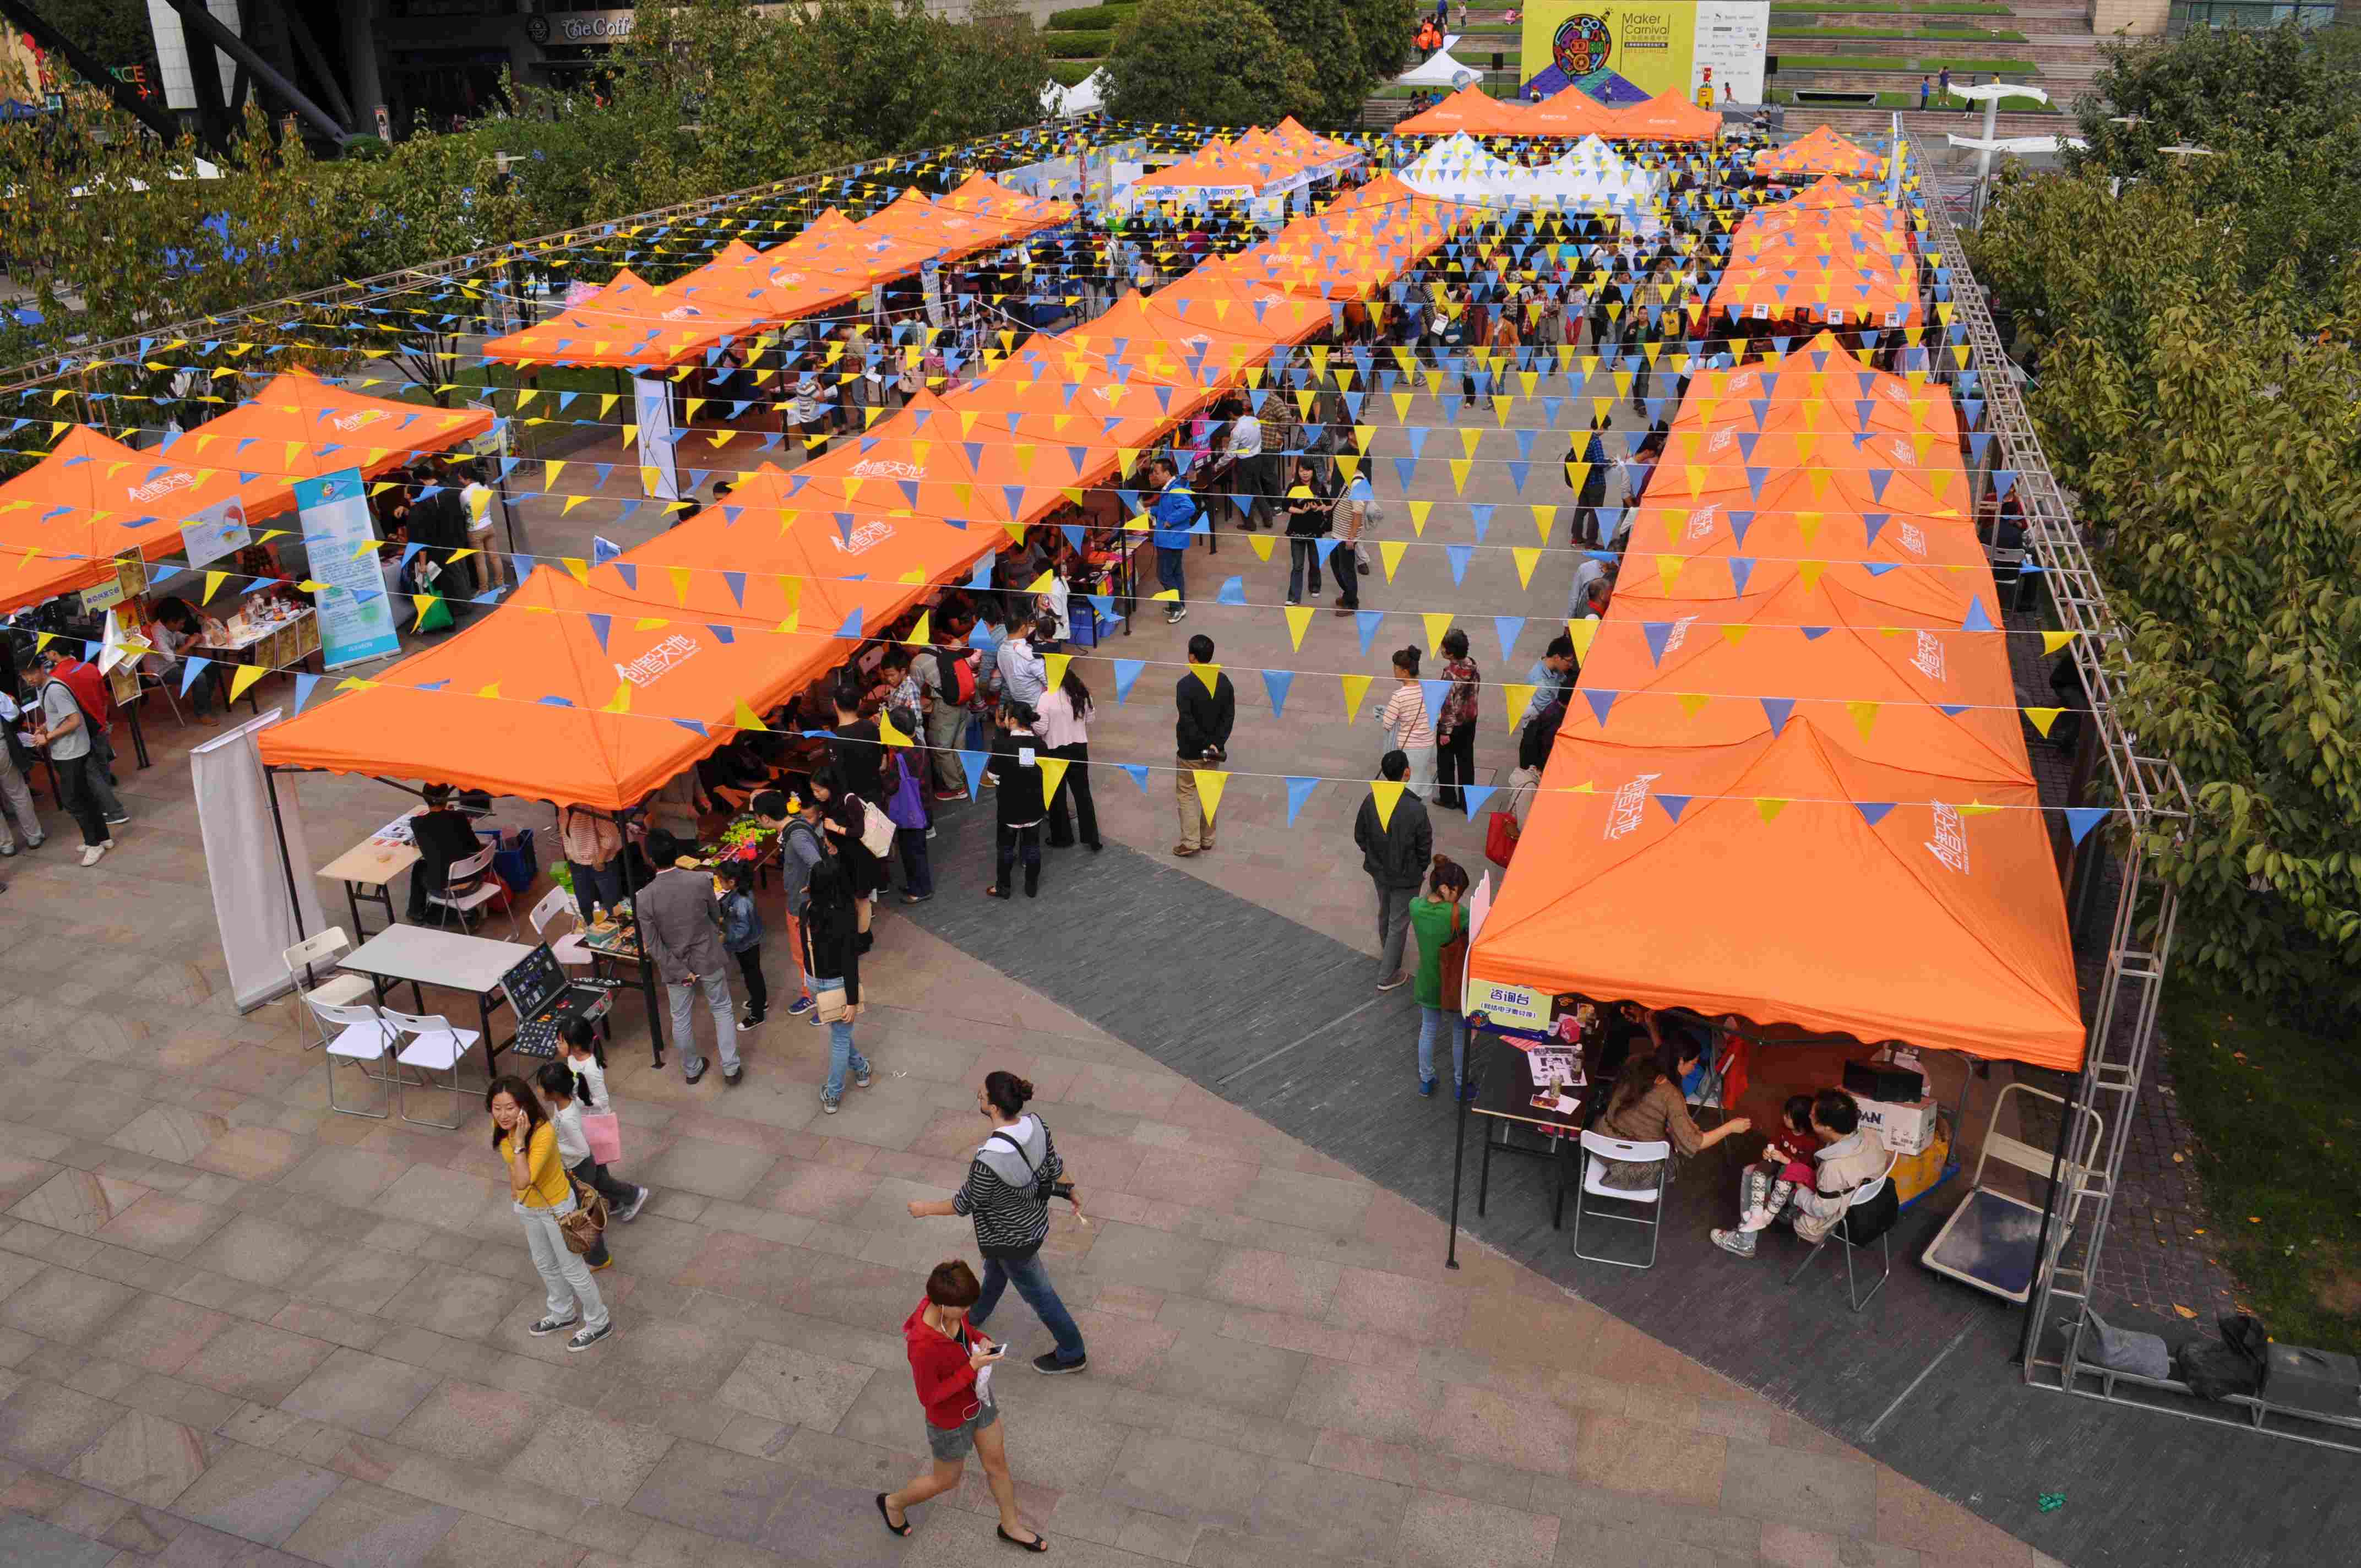
Quiet time at the popular first day of Shanghai Maker Carnival 2013 had crowds of locals and hackers and makers from Shanghai, Nanjing, Beijing, Shenzhen, Taipai, Indonesia, Singapore, Prague, America, ……
The number of companies large and small also exploded and many of the sponsors also had a major presence, including AutoDesk, Lego, DFRobots. More photos in next posts.
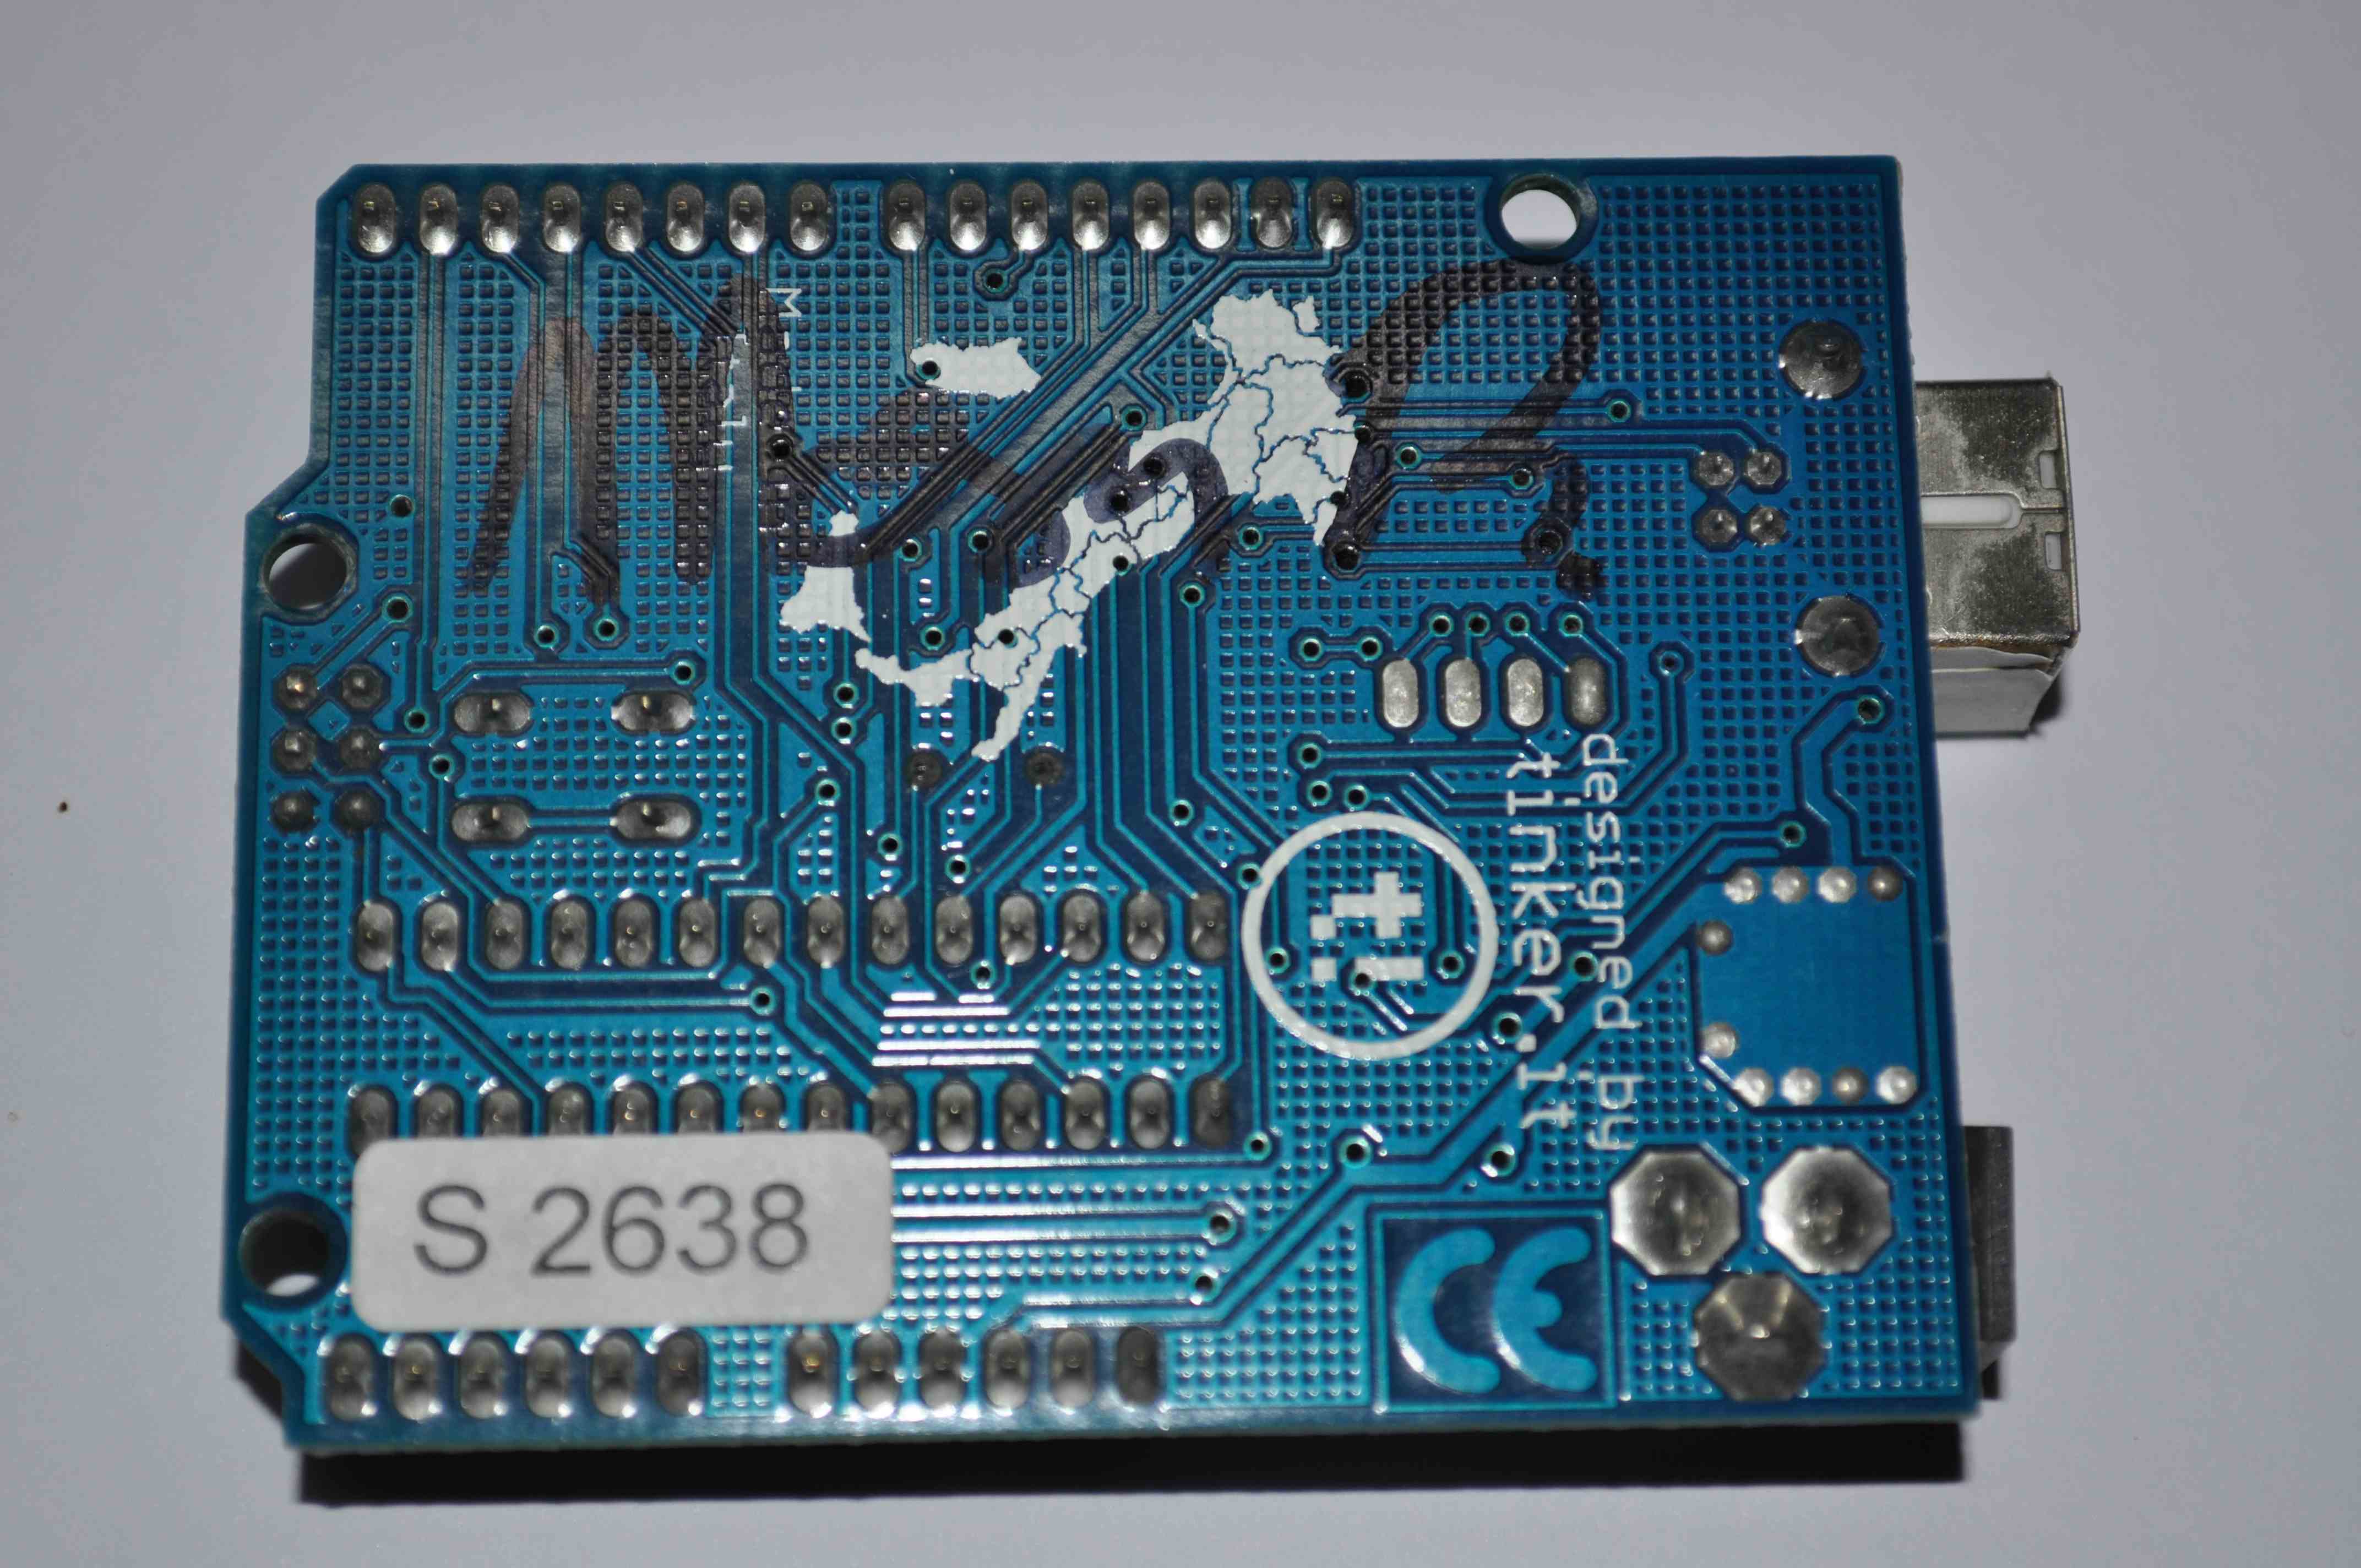
At the Shanghai Maker carnival I asked “the” Massimo to sign my Arduino (first of many Arduinos). He did and I have to say he is a very nice guy. Was hoping to get some feedback on the serial number and without any prompting he said “this is a collectors item” and when asked said that is was actually number 62,638.
Prior to this at the pre-maker carnival party at XinCheJian, while exchanging background information with other party goers, I was about four seconds into my background “grew up with no TV, so had to entertain myself making…” when I was interrupted with “so you are a true geek” and to make this really official – this came from a cultural anthropologist who specialises in maker culture etc!
So if chasing Massimo for an authograph wasn’t enough proof, then there is an expert opinion to back it up – yep I’m a geek 🙂

Was going to post a shorter article about below – but it felt way too much like I was just bragging – so I did not publish. Now after seeing and having the view that “XinCheJian = amazing” expressed by others – well I had to publish!
Blogged recently and in past about how amazing XinCheJian is, since then even more amazing things via XinCheJian:
Two weeks ago on the way to XinCheJian’s hackerspace in a container – went past the beginnings of the new FoxConn Shanghai building.
OK that is a bit random – how about a week ago I opened XinCheJian door to let some people in – it was the new owner of HackaDay and the CTO.
I was at XinCheJian to meet with David Li, founder of XinCheJian and so were they, so I got to listened and participate in a really interesting flow of ideas.
Turns out hackaDay is really a side project and is just on of 70 sites they own, mostly in electronics! They have been exploring Shenzhen electronics markets and are looking into ideas for HackaDay!
And it also turns out while I was impressed with meeting them and what they are planning, they were also very impressed with XinCheJian – see their interesting post.
My take on the interesting discussions …… China IS different:
Plus my personal observation is in addition to the growing of companies that “provide access to manufacturers who make your product”, for example:
SeeedStudio, Hackvana, DFRobot and ITeadStudio, Sparkfun, Fritzing, and Upverter and 3D printing services like: Ponoko and Shapeways and hardware accelerators like: haxlr8.
Then there is also a small, but growing shift in the low volume market where more and more companies are now targeting low volume production at “affordable” cost instead of really expensive prototyping/low volume and also providing direct global access to these services, not just local access, for example: DragonInnovation and HWTrek and SnapEDA.
Finally – I hear that Massimo – yes from Arduino will be at XinCheJian in late October after BarCamp and Maker Carnival.

XinCheJian has several pcDuino and LinkSprite sensor packs. Using the pcDuino, in the TheSpaceProjectS. shows that the pcDuino really delivers and gives great first impressions:
Arduino “emulation” – ie running Arduino GUI with Arduino code on the pcDuino hardware – just works.
This is a really big feature that does not seem to have had much attention! There are a few differences to “standard” Arduino and some BIG extra features:-
Other notes:
Functionality tested so far from Arduino code:
The LinkSprite translation board (T board) shield provides a standard Arduino shield pin layout so you can use your existing Arduino 5v shields and code, run faster and access the added Linux capability!
That is actually very impressive! What other capability is there to discover? Guess need to explore this device some more – for example interrupts, sleep, timers.
Co-incidentally there is a lot of press about the new Arduino Yun, which is also an Arduino + Linux hardware. The Yun has both Arduino & Linux hardware (plus WiFi) and has a serial bridge and library that allows communication between the Arduino and Linux hardware. The pcDuino does not have the additional Arduino processor, but does provide almost the same IO pins with control via the same Arduino programming IDE.
So the Yun is an Arduino (Leonardo) and has direct control of all IO, plus has some control of the Linux WiFi and other functions, and the pcDuino has direct control of all IO and Linux functions, plus if programming via Arduino IDE provides significantly extended Arduino capability.
I don’t have a Yun to try so I can’t answer this posts title question, but I can definitely say the pcDuino really delivers and shows promise of improving further!
Summary: pcDuino is a highly functional mini-Linux system that also adds several BIG features to Arduino capability, plus everything works right out of the box!
Went to XinCheJian hackerspace the other day to run Helper Session and left with a LeapMotion, pcDuinio with LinkSprite shields and sensors and a Raspberry Pi – all on loan – but such nice devices – made a great weekend.
The LeapMotion has had plenty of press since it’s release, so no need to rehash that here, my big first impression after a quick setup and short time playing game, was of being totally lost once the game finished, then I realised oh – have to use the old keyboard and mouse again – it was a huge letdown after being so free using the LeapMotion!
The rPi is one of the prizes for the SwarmRobot team (got shipped – returned and shipped again). Was going to use it for the new TheSpaceProjects, but then was told about the donation of several pcDuino’s and the LinkSprite shields etc. So now upgrading to pcDuino and maybe also the rPi.
More posts coming on pcDuino – as first impressions are it is actually a LOT more capability than expected!
Trying to add a bit more wisdom to all the existing information that is around the web based on my tribulations with a SwarmRobot 32u4 based board (core of the Leonardo) and a SeeedStudio Xadow.
As everyone notes, on uploading your code, BOTH the computer AND the Leonardo drop/break the USB connection and then attempt to re-establish. The practical issues that this can cause, is where I had issues and found little information. So here are my 2 cents worth:
If both ends successfully re-connect:-
If either end does not re-connect, try:-
Entering the assistive device air mouse into a competition requires describing all the features and capability, business plan, marketing, etc etc in less than 300 words of pure text! Well, you can also add two photos, two drawings and your CV!
The business and marketing requirements demand a product name, so here it is “AirMouse+” and the variation “AirMousePlus”, which is henceforth copyright of this web site {U}sable{D}evices.
More updates in this coming soon!
Added header pins to the Xadow breakout board, plugged in the MMU 6050 sensor, uploaded the SAME code been testing on the Teensy++2 and success – the Xadow works as an air mouse!
I did comment out the button code as I have loaned my buttons to another Xinchejian Assistive devices team member. Also changed the movement sensitivity.
Will probably use the Teensy to continue the sensor – library debugging as it has heaps of IO to drive LEDs or a logic analyser. Will also move the draft code for the virtual button control to both boards and then should have a fully functional mouse. There are a lot more features planned, so this will be a highly capable and highly adaptable mouse!
A Xinchejian members first experience is in this second video – only instruction to him was hold like this and rotate! Seems like he was quite impressed!
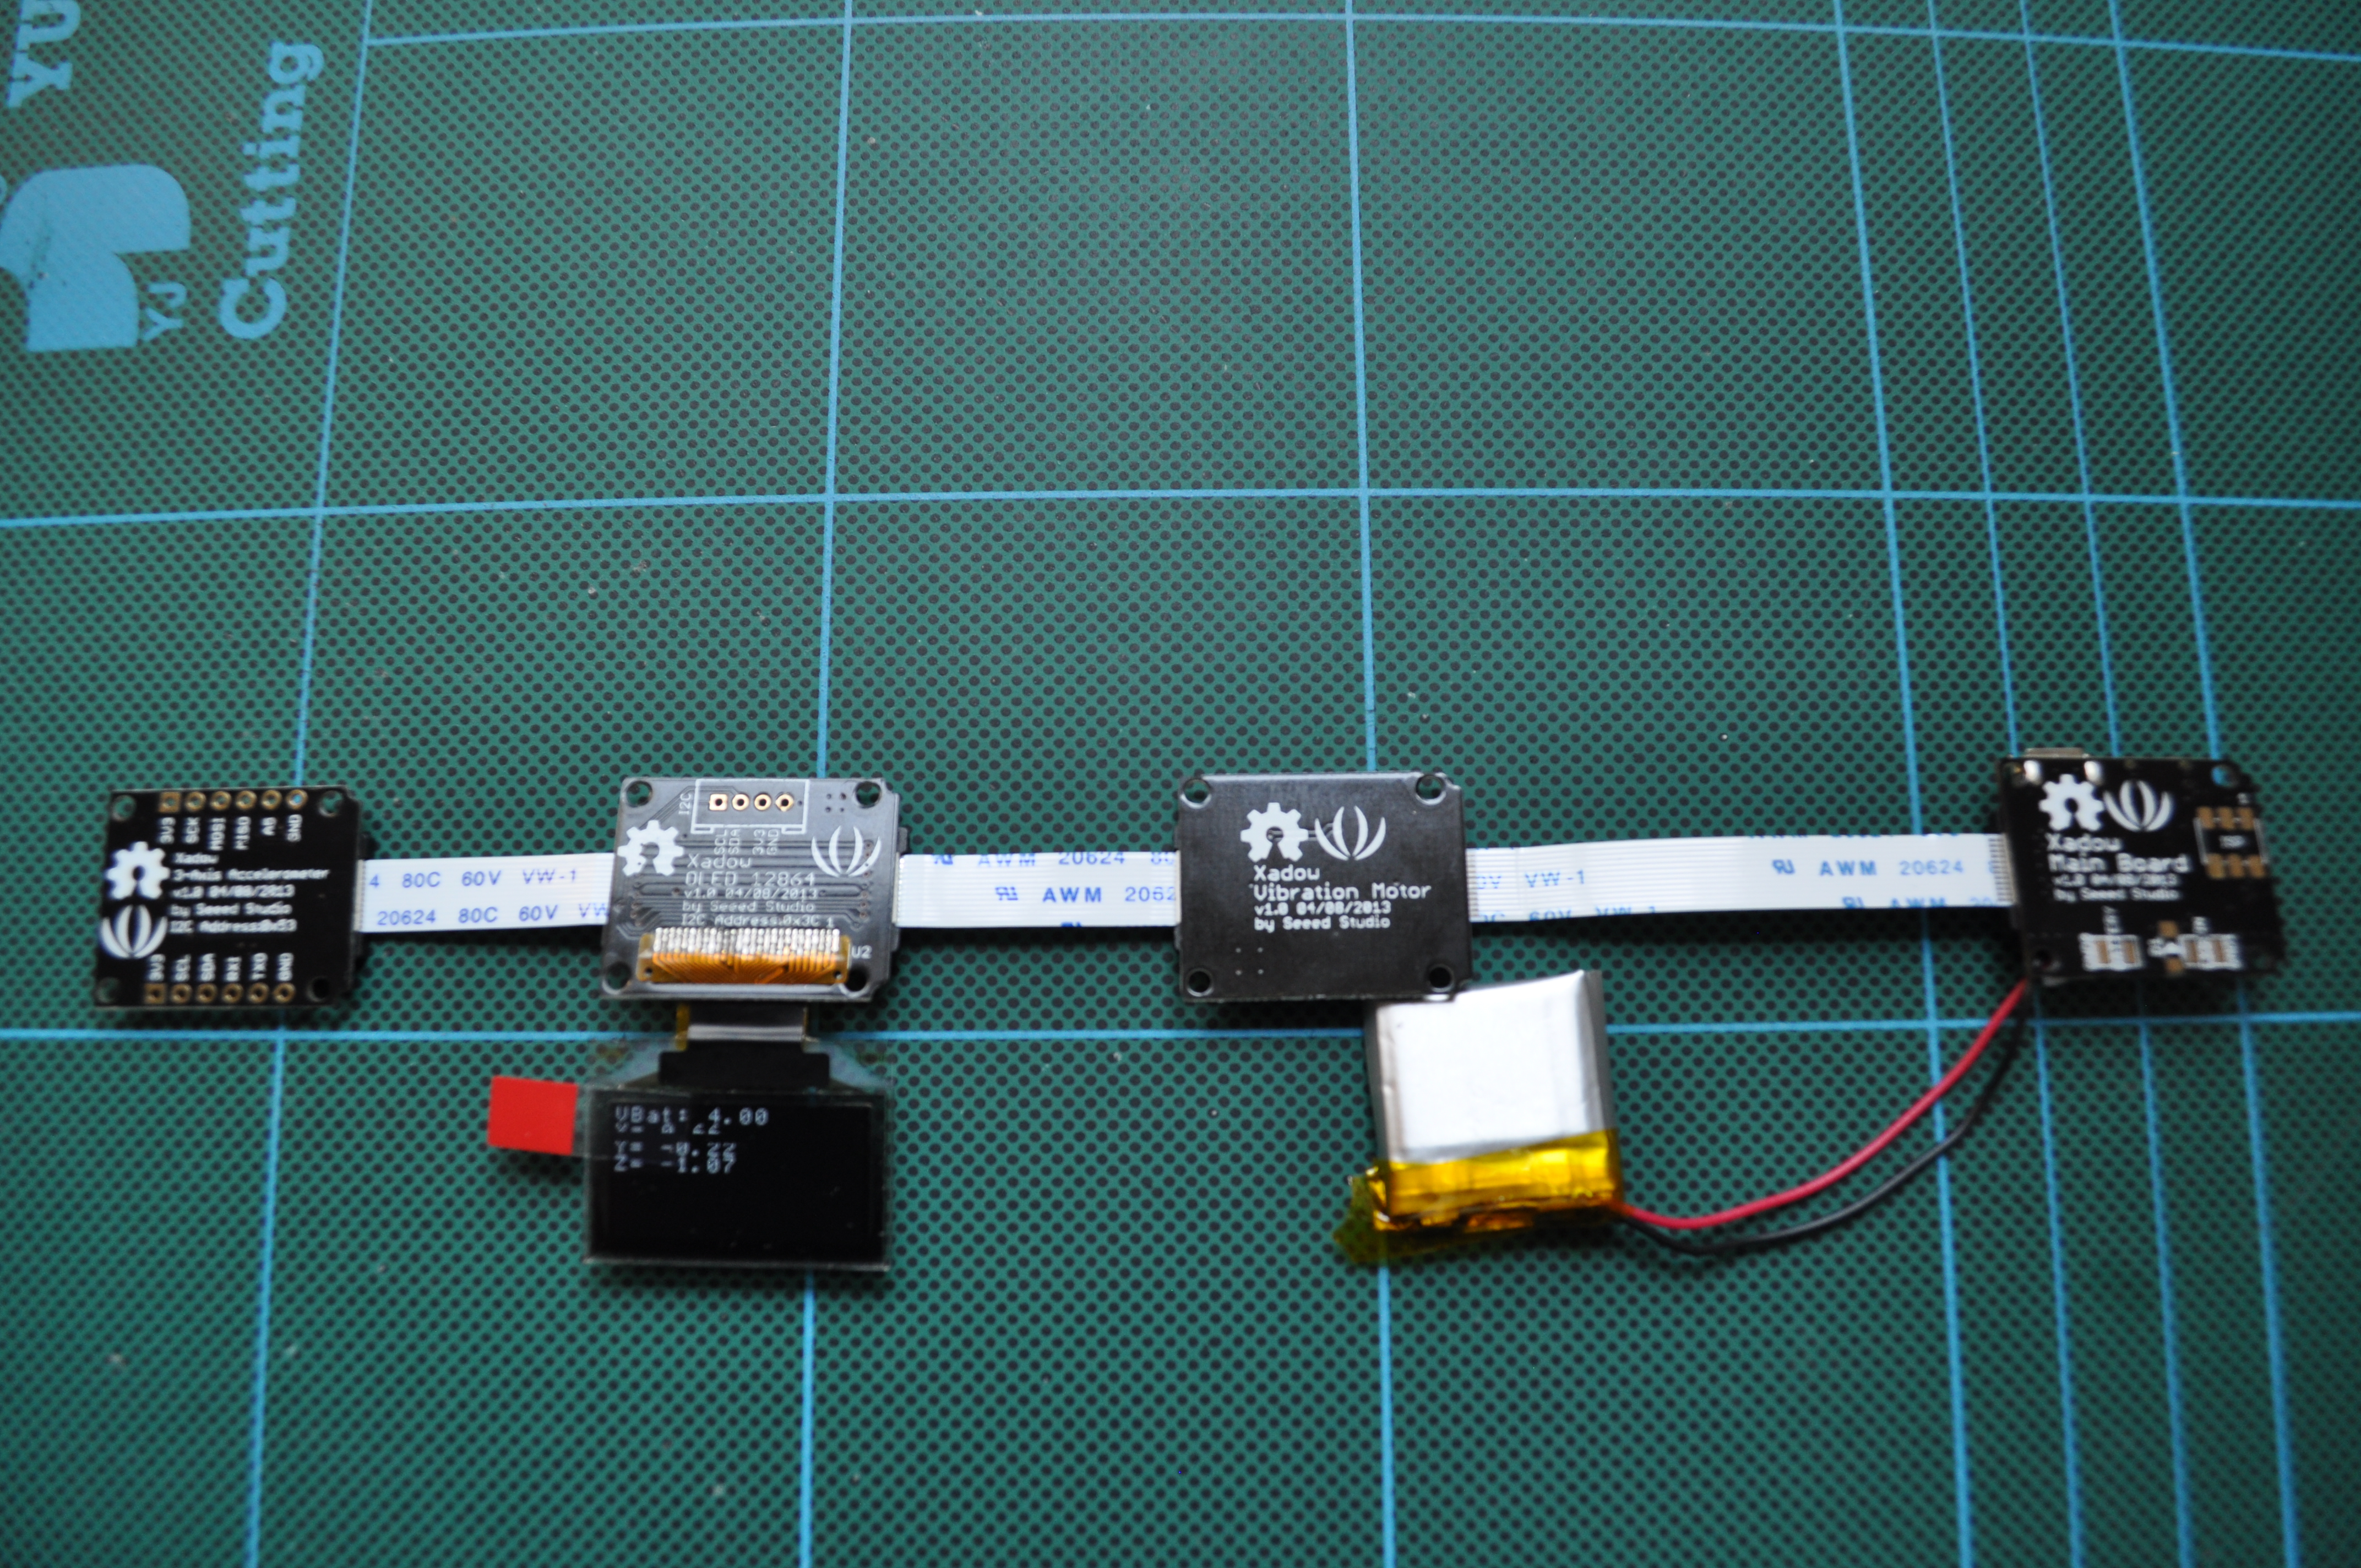
This more complicated demonstration uses an accelerometer to detect movement, displays accelerometer values on the OLED display and vibrates to indicate movement detected!
The demo code works first time, although the wiki instructions do need a little update to help klutzes like me. I’ll have to get stuck into those updates next!